Speed up your WordPress website
Perhaps you have a WordPress website which is quite slow. Are you thinking simply, is WordPress slow? How to speed up a WordPress website? Well, there are WordPress-specific answers to that, involving WordPress caching plugins, and you should probably be doing that anyway. And perhaps migrating to a faster server. But how about a general solution, which will work whatever website technology and server you have used?
Speed up any website!
Regardless of how you built your website, you can greatly improve the performance as perceived by your customers, by using a content delivery network (CDN), which caches content close to your users, to give them a very responsive experience. Remember that in 2018, page speed is a Google ranking factor, and especially page speed on mobile. This stuff matters.
As with any technology, when selecting a CDN there is a choice. If you are Facebook, you will be using Akamai, and paying eye-watering amounts of money for the privilege. For smaller businesses, we at The Content Guild have found Cloudflare to be a great choice. And the best news? Cloudflare have a free tier, just perfect for getting going, with easy upgrade options to paid plans should you later require those.
Getting Started with Cloudflare
1
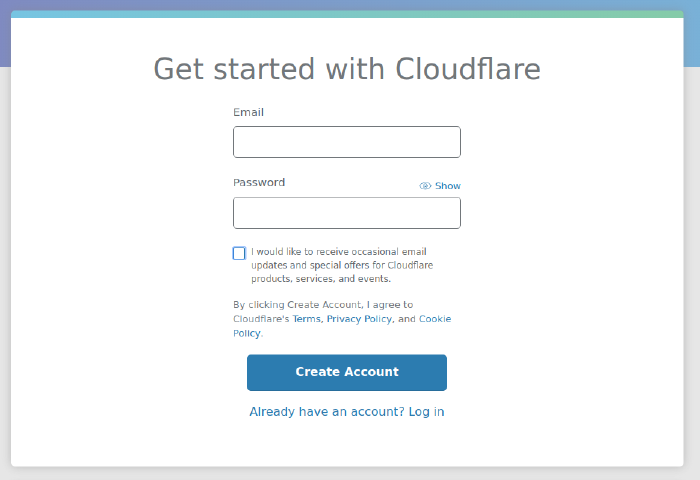
Signup
Sign up with an email and password. No credit card is needed if you select the free tier.
2
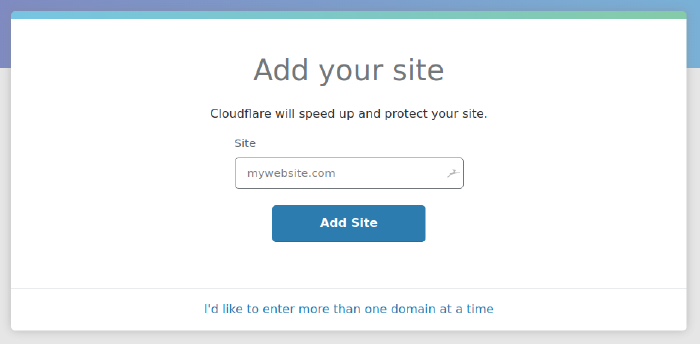
Add your site
Enter your toplevel domain name, e.g. contentguild.co.uk.
3
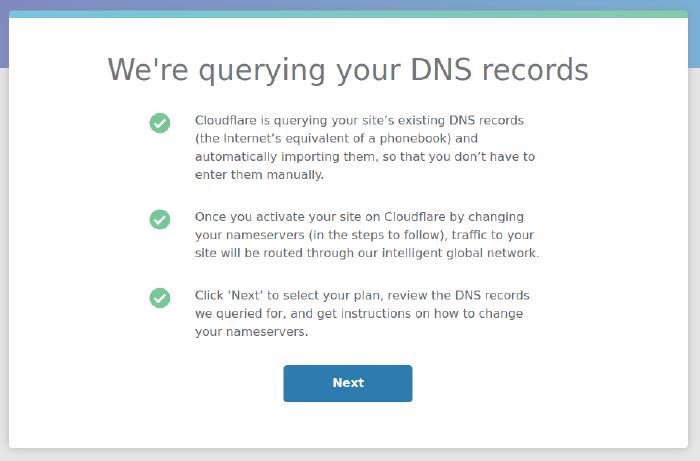
Cloudflare queries your existing DNS records
At this stage, Cloudflare migrates all your DNS records from your existing nameserver.
4
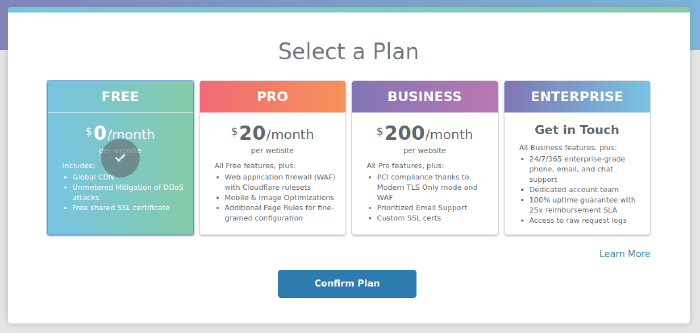
Select the free plan
5
Check carefully, and disable HTTP proxying for now
It’s very important that you see all the DNS records you expect at this stage, so check carefully. Only when you are sure everything that should be present is actually so, continue on. It’s worth comparing these records with those in your current nameserver, probably your domain registrar, which you will be accessing next anyway.
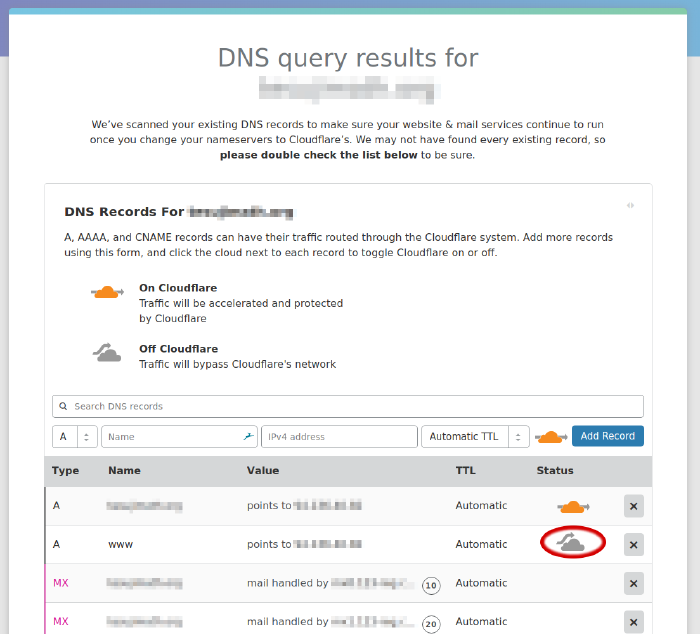
BE CAREFUL!!! Before you proceed, be warned there is a gotcha here. Cloudflare’s SSL certificate may take up to 24 hours to activate. During this time, you can’t afford for your SSL to be broken, so what to do?
The answer is, delay switching on the HTTP proxy (CDN) in the DNS control panel here, probably just for your www host, but you will know what you are using. Set it back to DNS only, the grey bypass cloud, which means all traffic will go straight through to your own server.
6
Setup a test site to check activation of your SSL certificate
This step is optional. But you may want to create a test site with HTTP proxy (CDN) enabled, that is, with the orange passthrough cloud, which you can use to check the SSL connection is functioning correctly, before switching over your main site to HTTP Proxy. On the DNS page, add an A record for say testsite, something which doesn’t matter. If you have a test server whose IP address you can use for this, so much the better. Once the SSL cert is activated for this test site, activation for the main www host will be immediate. The reason is, Cloudflare use universal (wildcard) certificates on the free tier, and the same certificate will do for both.
So, don’t be in a hurry to activate the HTTP proxy on your main site.
7
Change your nameservers
Make a note of the Cloudflare nameservers you have been allocated. You will be entering these into your domain registrar, next.
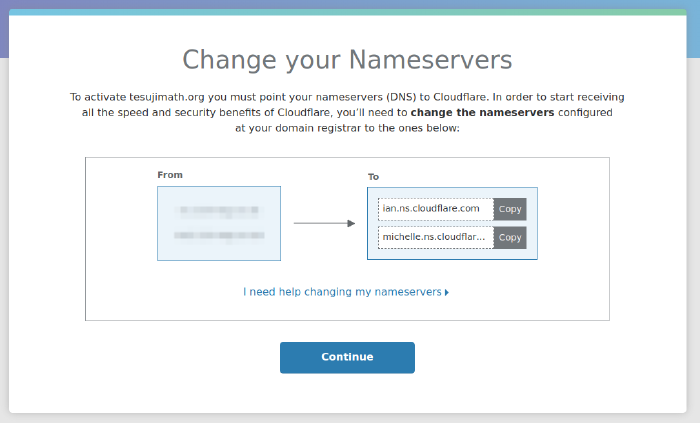
Copy and paste these as the nameservers for your domain, which is done on the control panel for your domain name registrar, that is, the company from which you bought your domain name. It’s unlikely to look exactly like this, unless you happen to also be using 123 Reg as your domain registrar. The Cloudflare help may be useful if you’re stuck here.

8
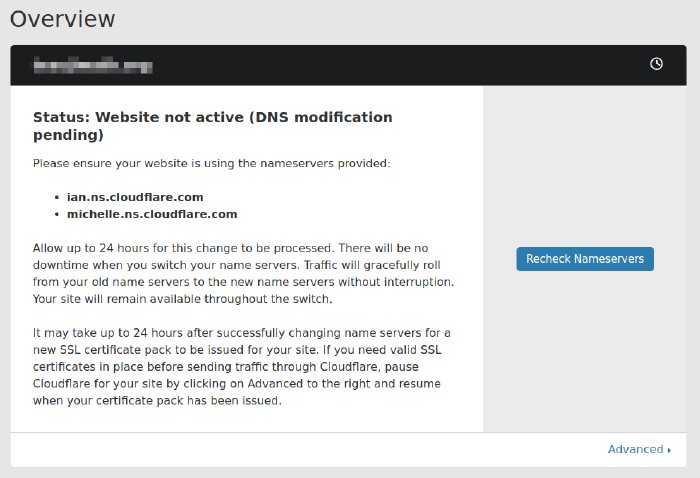
Wait for your nameserver update to propagate
Now you will have to wait for your nameserver update at your domain registrar to propagate. Until this happens, your Cloudflare account will not be active. But in the meantime, you can go ahead and configure some important settings, next.
Hopefully it will actually only take a few minutes, then you can recheck the nameservers, and you will see the following.
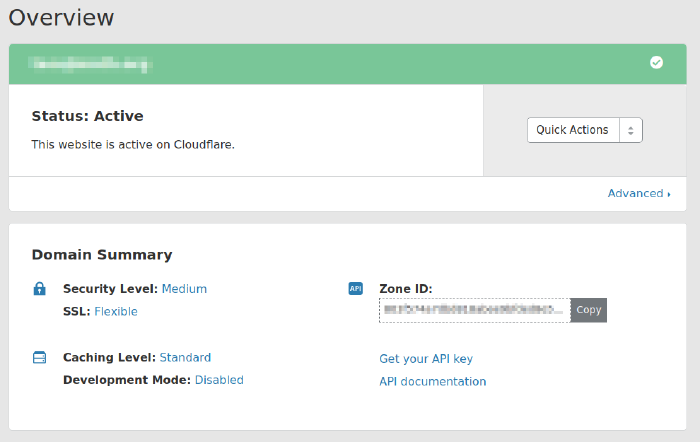
At this stage, congratulations! You are using Cloudflare, although not yet for HTTP Proxy (CDN). Wait for the SSL certificate to activate! You can see that on the Crypto page of your Cloudflare control panel.
Also, don’t forget to verify your email address when the email from Cloudflare arrives in your mailbox.
Important Settings for using Cloudflare
SSL Encryption and Certificate Validation
If you don’t change the SSL settings on the Crypto page of your Cloudflare control panel, your site will be insecure. It’s that simple. It’s unclear to me why Cloudflare’s default settings are like this. Troy Hunt has an excellent discussion of the issues. The problem is, the default setting is ‘Flexible’, which means no encryption between Cloudflare’s servers and yours, which leaves yours and your customer’s sensitive information vulnerable. Oh dear.
Cloudflare have a description of the available SSL options. The only sensible setting is ‘Full SSL (Strict)’. Without ‘Strict’ your site is vulnerable to a man-in-the-middle (MITM) attack by someone with a self-signed certificate. That is, anyone.
So, check that your Universal SSL certificate is active, and set the security mode to Full (Strict), on the Crypto page of your Cloudflare control panel.

Restore Visitor IP Addresses
By default, because Cloudflare is a reverse proxy, once your web traffic is routed through Cloudflare’s network, you will see in your server logs the Cloudflare server IP addresses, rather than the actual client IPs. That’s no good if you’re wanting to analyse your traffic, but is in fact easily remedied, and Cloudflare have a series of articles specific to different web servers about how to rectify this. If this is insufficient, your hosting provider should be able to help here.
Using Ahrefs on a Cloudflare site
If you’ve been following along and you’re a client of The Content Guild, this next section is important. Ahrefs is one of our favourite SEO tools at The Content Guild - powerful and effective (but also complex and having a steep learning curve). We use it for several tasks, one of which being your SEO site audit. But without the settings described below, we will be unable to scan your site using the Ahrefs site audit tool. Or you may want to buy your own Ahrefs subscription and run the site audit tool yourself. Either way, it won’t work out of the box.
But if you’re not interesting in an Ahrefs SEO audit of your site, then don’t worry about this section.
SEO Audit Services
Just a note, if you do decide run your own SEO site audit, be aware that very many hours of web developer time can be wasted making superfluous changes to a website in response to an automated SEO site audit. Judgement is required, and this is one area in which The Content Guild can steer you towards the stuff that matters, and away from the stuff that doesn’t.
Ahrefs site audit 403 Forbidden error with Cloudflare
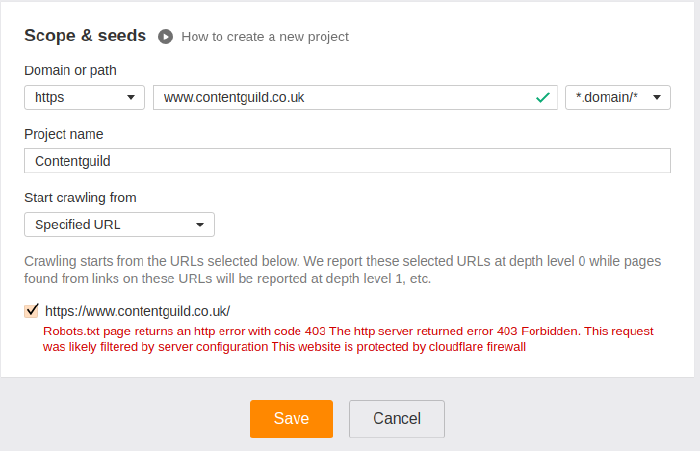
A common problem when using Ahrefs to audit a website protected by Cloudflare is the dreaded 403 Forbidden error. This is the error returned by Cloudflare in response to a range of perceived attacks on your site. The error may show itself within the Ahrefs Site Audit tool when configuring the site audit.
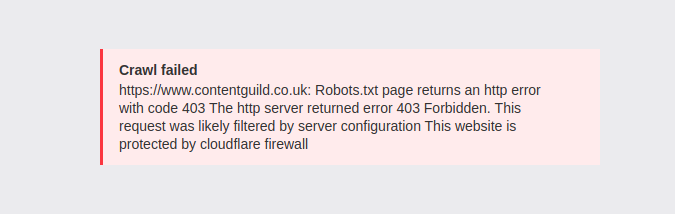
The crawl failed error message will likely include the text: page returns an HTTP error with code 403. The HTTP server returned error 403 Forbidden. This request was likely filtered by server configuration. This website is protected by Cloudflare firewall.
Alternately, the error may appear when initiating a new crawl. In either case, it may be on the Robots.txt file or any other file on the site, even the homepage.
How to allow Ahrefs Site Audit crawler through Cloudflare
For some reason, the Ahrefs crawler bot appears to Cloudflare as malicious. It isn’t, by the way, just so you know. The Cloudflare detection is a false positive. But is there anything we can do? Fortunately, there is. The nice people at Ahrefs are kind enough to publish the IP address ranges used by their crawler, as follows:
54.36.148.0/24
54.36.149.0/24
54.36.150.0/24

195.154.122.0/24
195.154.123.0/24
195.154.126.0/24
195.154.127.0/24
We can tell Cloudflare to allow requests from these IP addresses, regardless of their apparent intent, by whitelisting them in the IP Firewall, on the Firewall page of your Cloudflare control panel, like this.
Cloudflare Firewall Settings

Go to the firewall control panel, and then scroll down to the IP Firewall section. Here, simply add a whitelist rule for each address range used by the Ahrefs crawler, as follows.
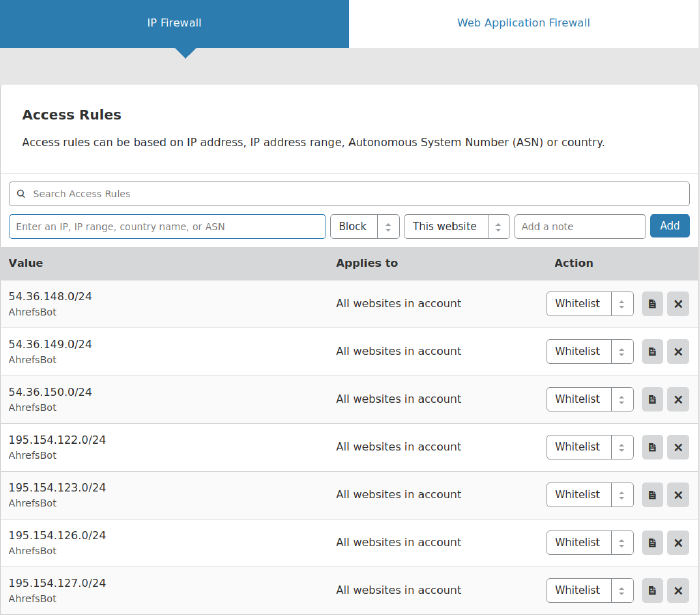
And once this is done, immediately the Ahrefs Site Audit tool is able to crawl the website without 403 Forbidden errors. And how satisfying is that?
Wondering whether you may have other problems on your site affecting your Google rankings?
Level 1 performance